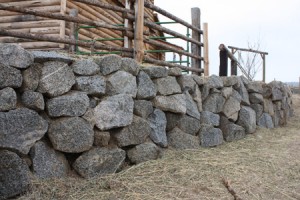
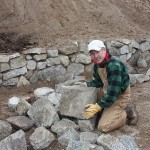
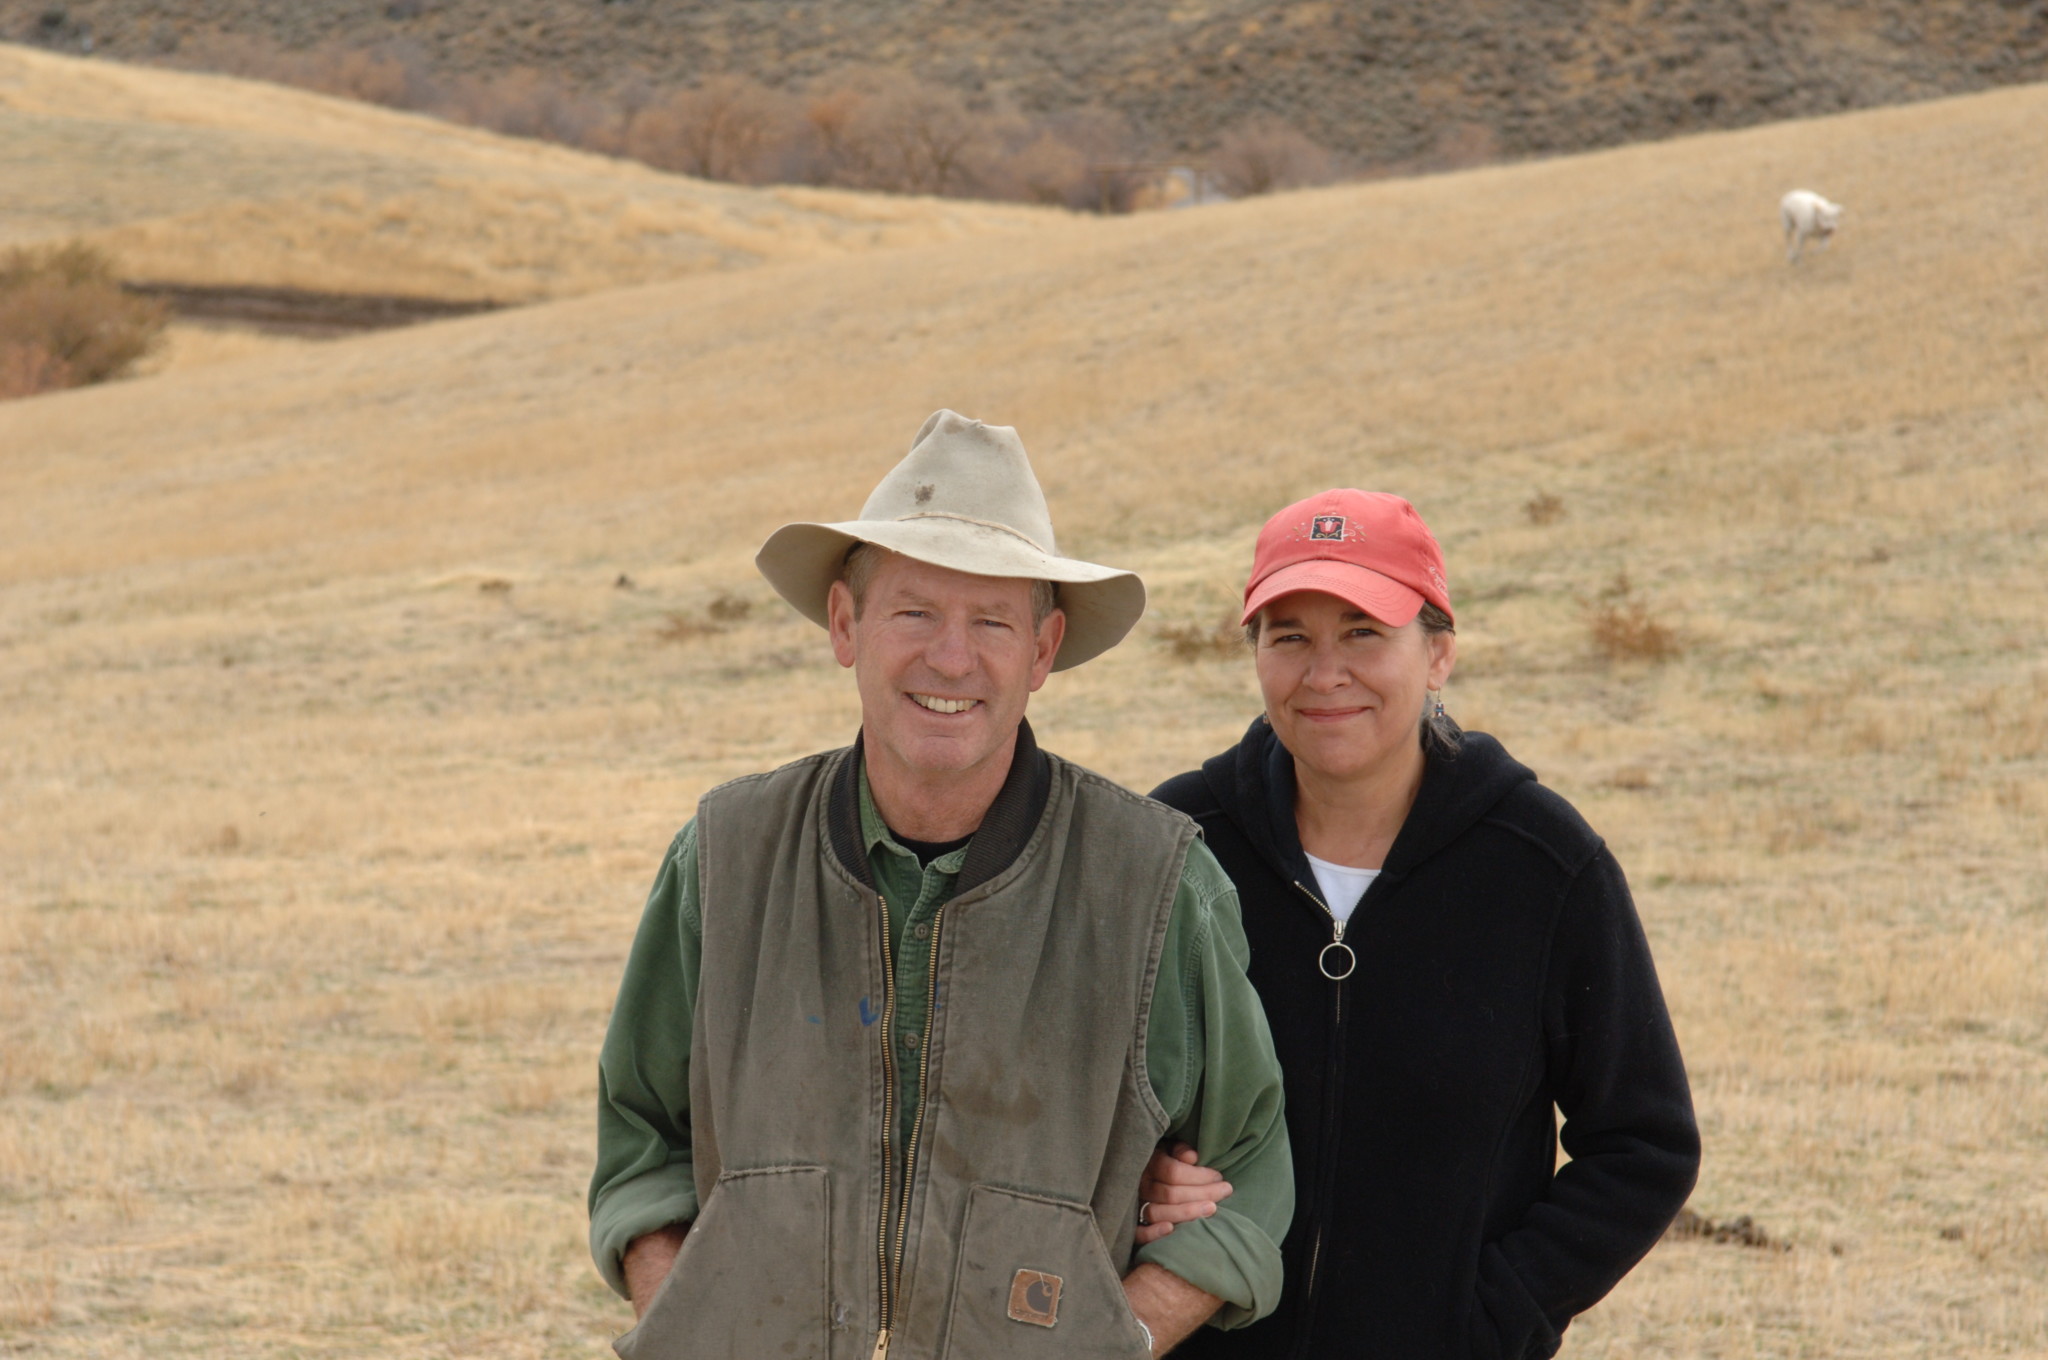
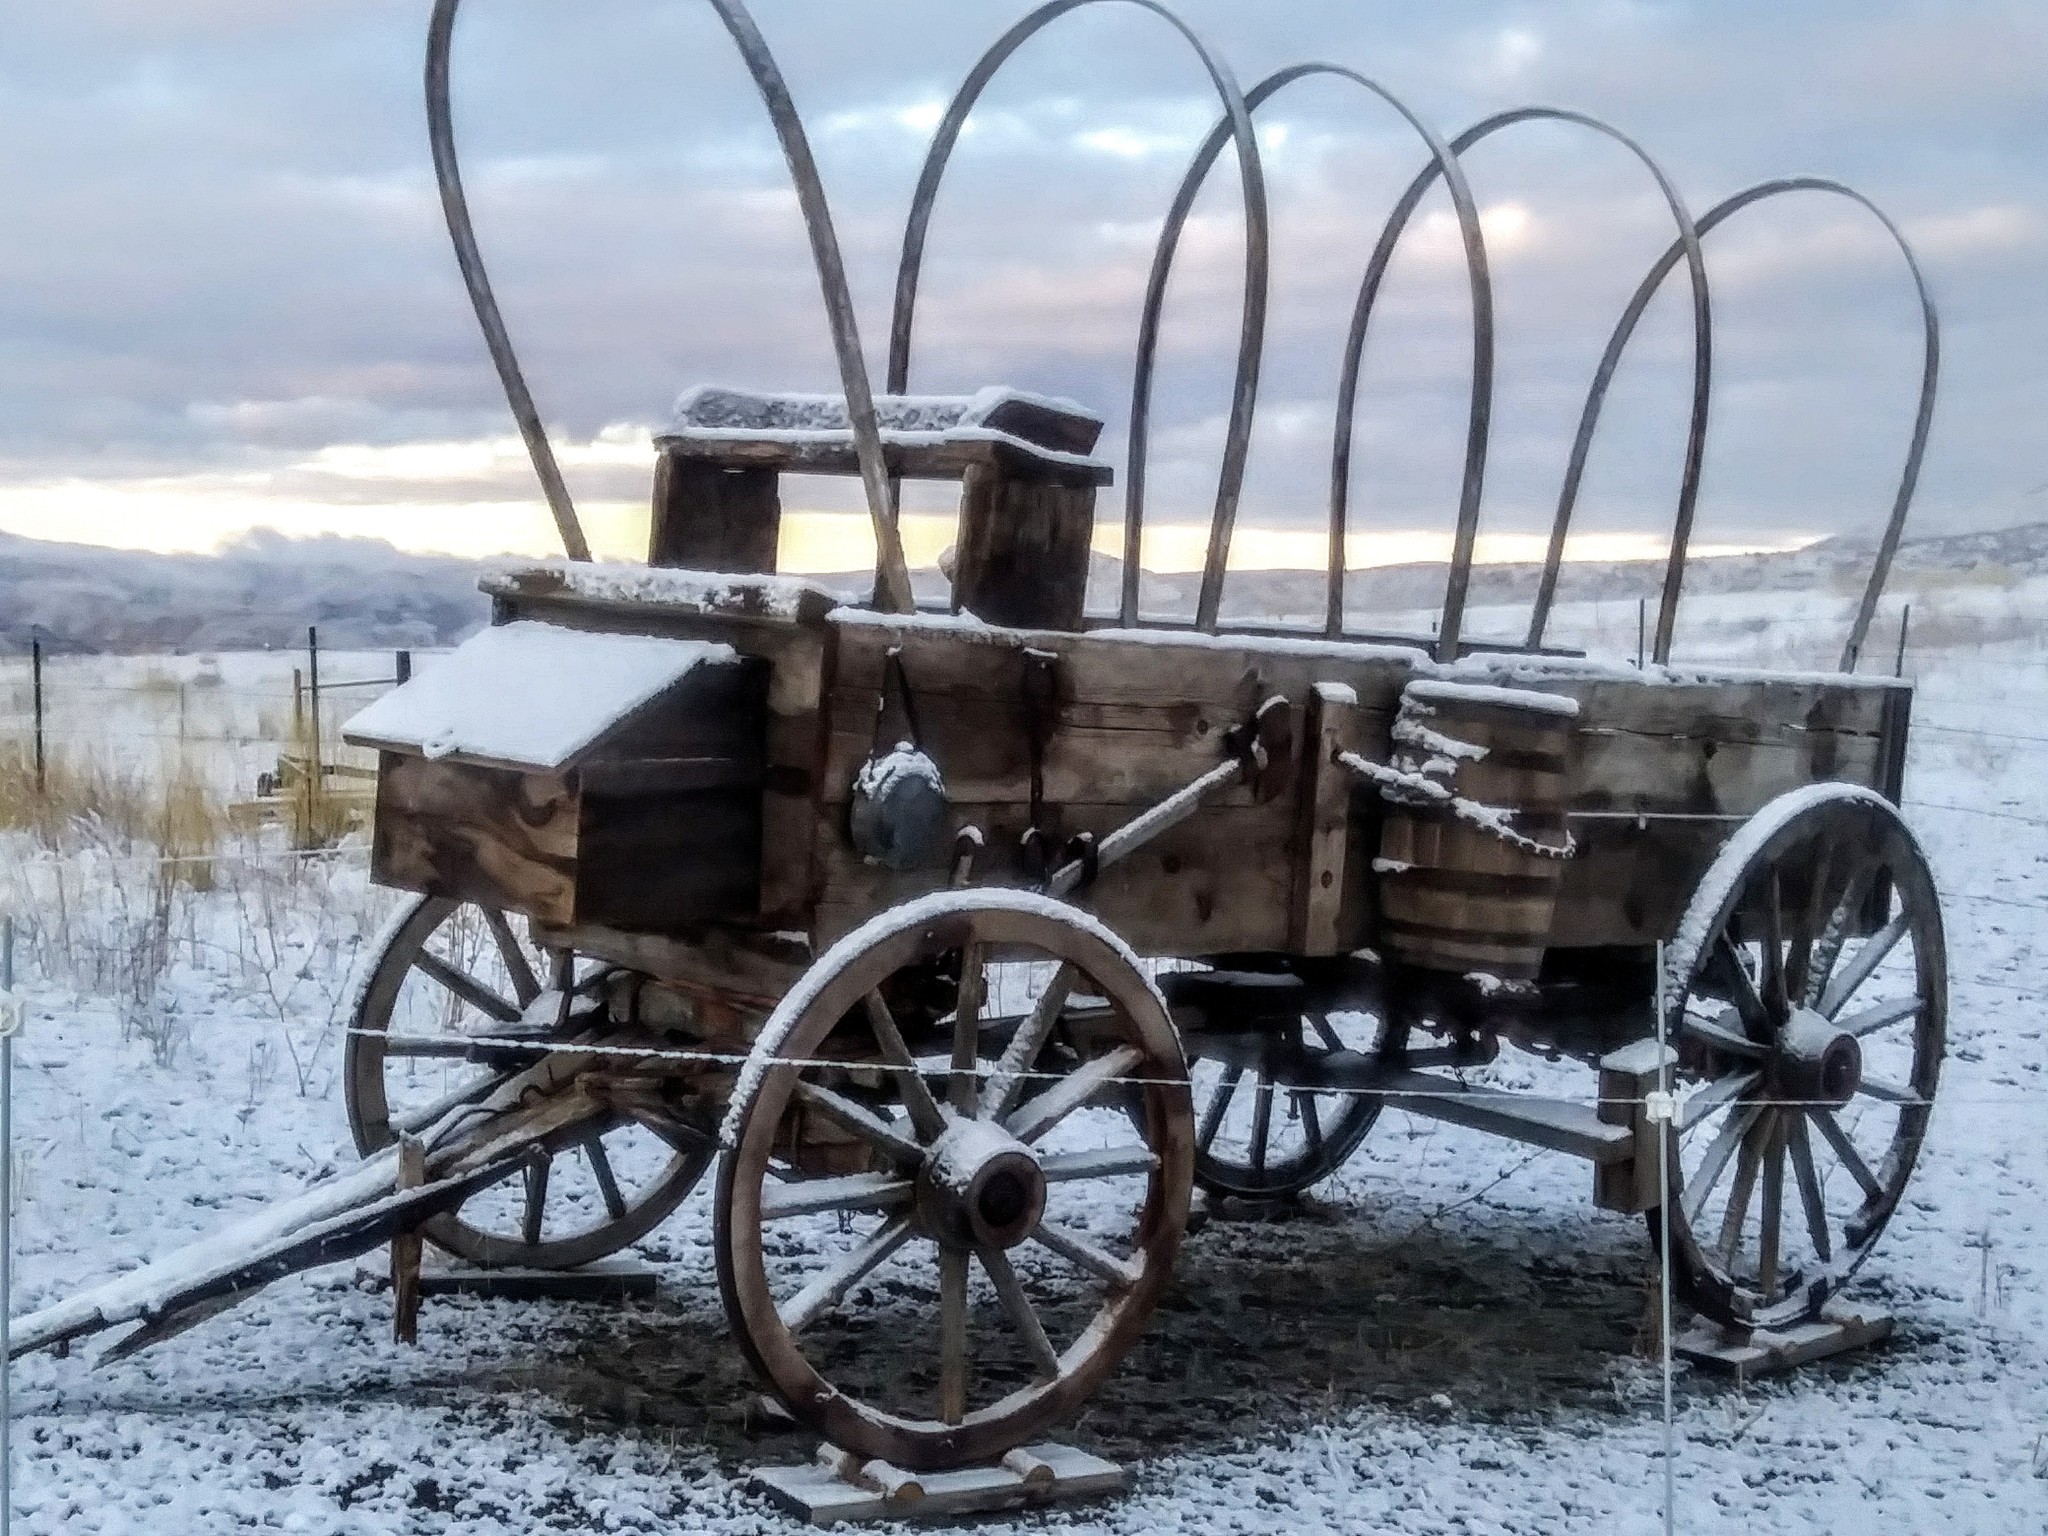
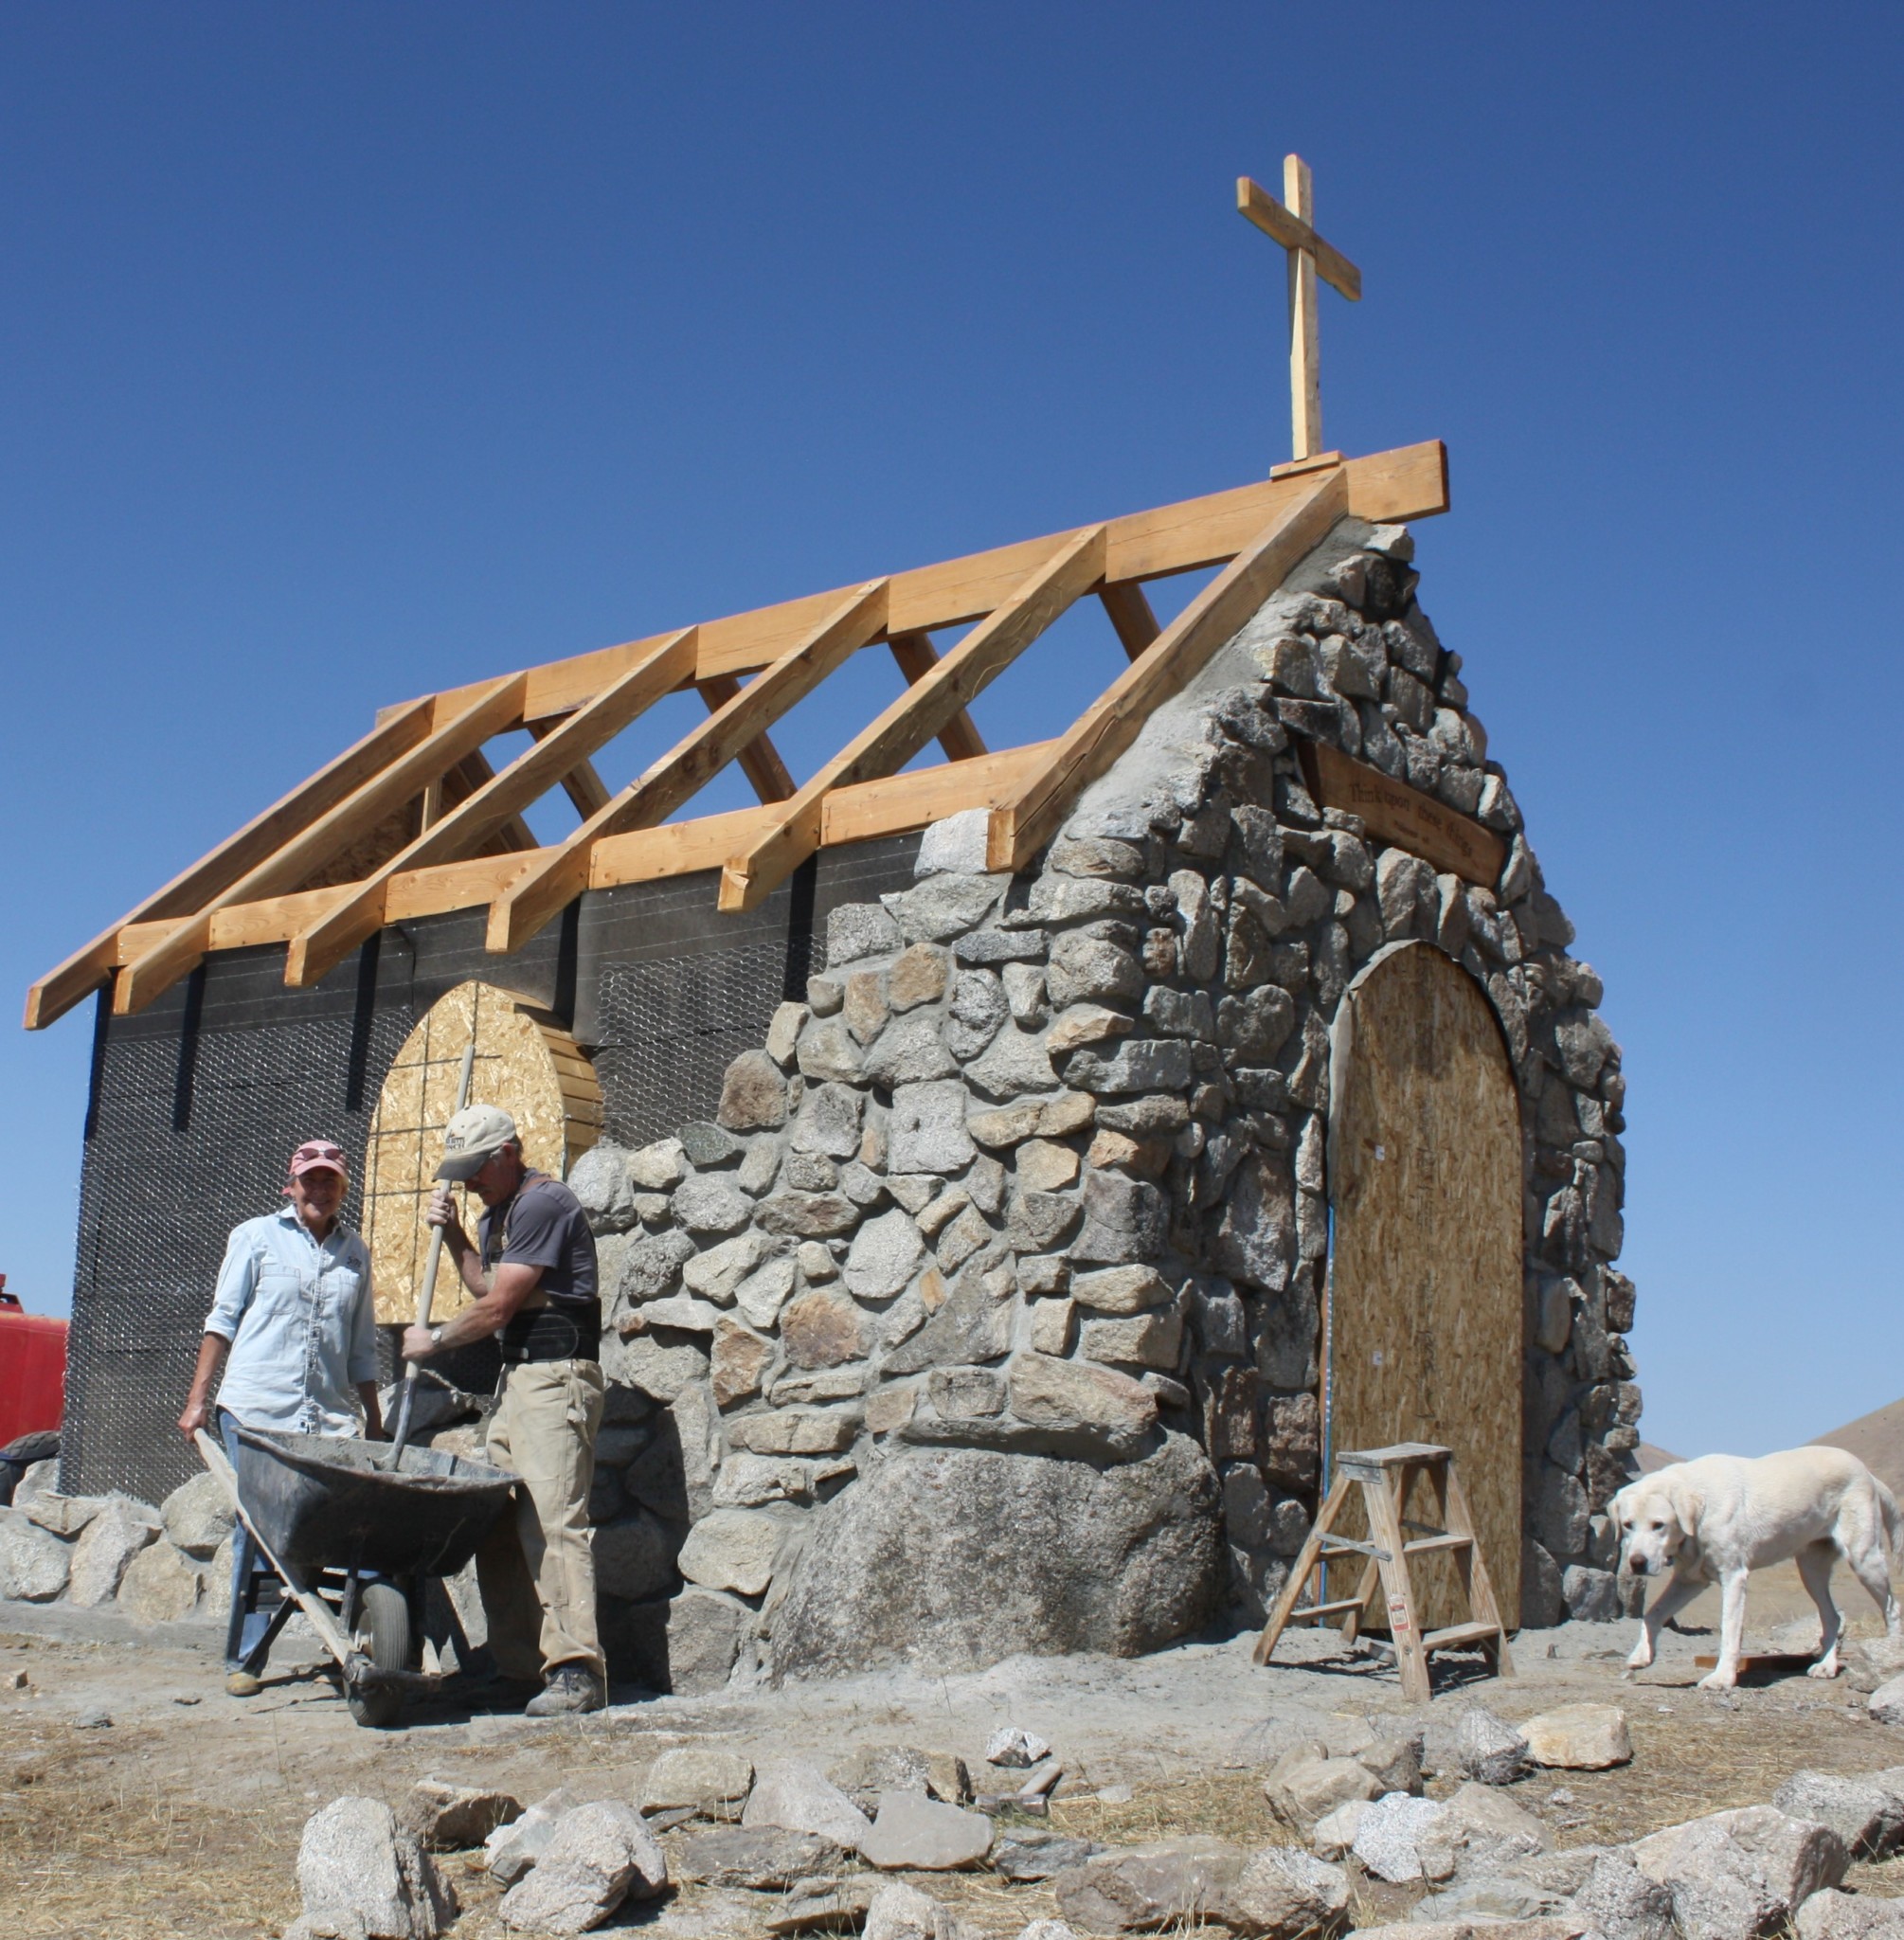
 Sometimes I think my dad and I have a little Inca blood in us. We both love building rock retaining walls and between the two of us have built thousands of feet of them through the years. I watched him construct huge wall from the time I was a little kid and picked up the habit as soon as I was strong enough to carry decent sized rocks. At ninety years old he still is stacking rocks into artistic functional walls here at Timber Butte.
I prefer using natural and local rock to build our retaining walls for a couple of reasons: One, because they look more natural when they are done. I think using local rock provides an ancient kind of look, much like the hedge walls in Ireland and England where farmers stacked the rock that had to be removed from their fields. In this way a rock wall looks like it has been there forever even after a short time. Second, walls provide a good use for rocks that may be otherwise in the way. On our old ranch dad built hundreds of feet of wall out of rock that had been excavated from our foundations, roadways and pads. We lived in rocky country and the rocks are often free. Here at Timber Butte Nancy and I have acquired most of our rocks from a generous neighbor. He had piles of squared off granite after a road had been cut through his property. Here in Idaho I’ve been told that it is possible to acquire a rock permit in designated areas much like getting a forest service wood cutting permit.
Building free stacked walls takes more bronze than brains, but there are a few tips that might be helpful if you’re thinking about undertaking such a project.
- 1. Start with selected rocks. The functionality and strength of your wall will depend on the shapes and sizes of the rocks you use. I prefer rocks that have squared off edges and are as big as I can physically handle. If rocks are consistently too big it looks like the wall was machine built rather than hand constructed. If they are too small then the wall looses strength. I like to use random sizes for that reason. I also look for rocks that will stack well, which means they have flat tops and bottoms. It is difficult to stalk marble shaped rocks because rounded edges create instability especially if the wall is to have any height.
- 2. Build the wall back into the hillside you hope to retain. This requires some serious earth removal. We generally dig into the hill so that the first layers of rock are up against solid compacted earth. We dig not only back into the hill but we set our first foundation rocks in a trench about six to eight inches deep depending on the type of soil we are working with. In this way the bottom of the wall can’t easily blow out when things get wet and start to settle.
- 3. Stack your rocks so that they naturally fit against one another. Look at shapes and selectively fit them for both strength and appearance. The less gap you have between them when you are finished the better. I use smaller rocks to fill spaces when needed.
- 4. I prefer to set all my flat faces outward so that the finished wall will have a consistent appearance. I just think it looks better.
- 5. Periodically set in a “key rock” so that the wall will become anchored back into the fill dirt. This means to lay a long thinner rock back into the depth of the hillside for the purpose of giving extra support and stability.
- 6. As the wall climbs upward continue to backfill and compress loose soil behind your rocks as you go.

Dad still building walls at 90
Finding the right shape.

Setting the foundation rock
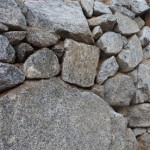
Using a variety of sizes and shapes

Setting a key rock


Leave A Comment
You must be logged in to post a comment.