
Cutting off the tong and grooved sides
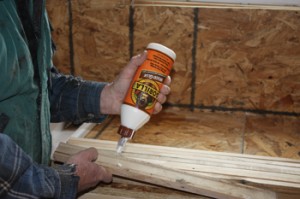
Coating both sides with Gorilla Glue
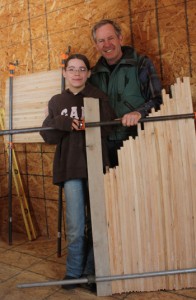
Clamping the glued maple strips
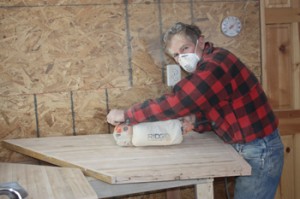
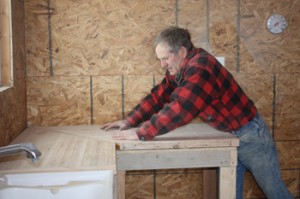
Sanding slabs level
Backing slabs with Liquid Nail
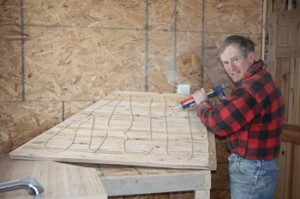
Fitting corners into place
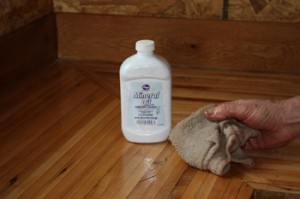
Application of mineral oil
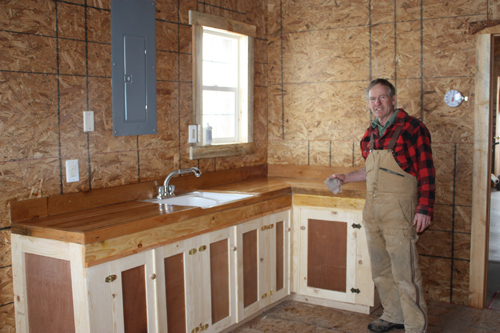
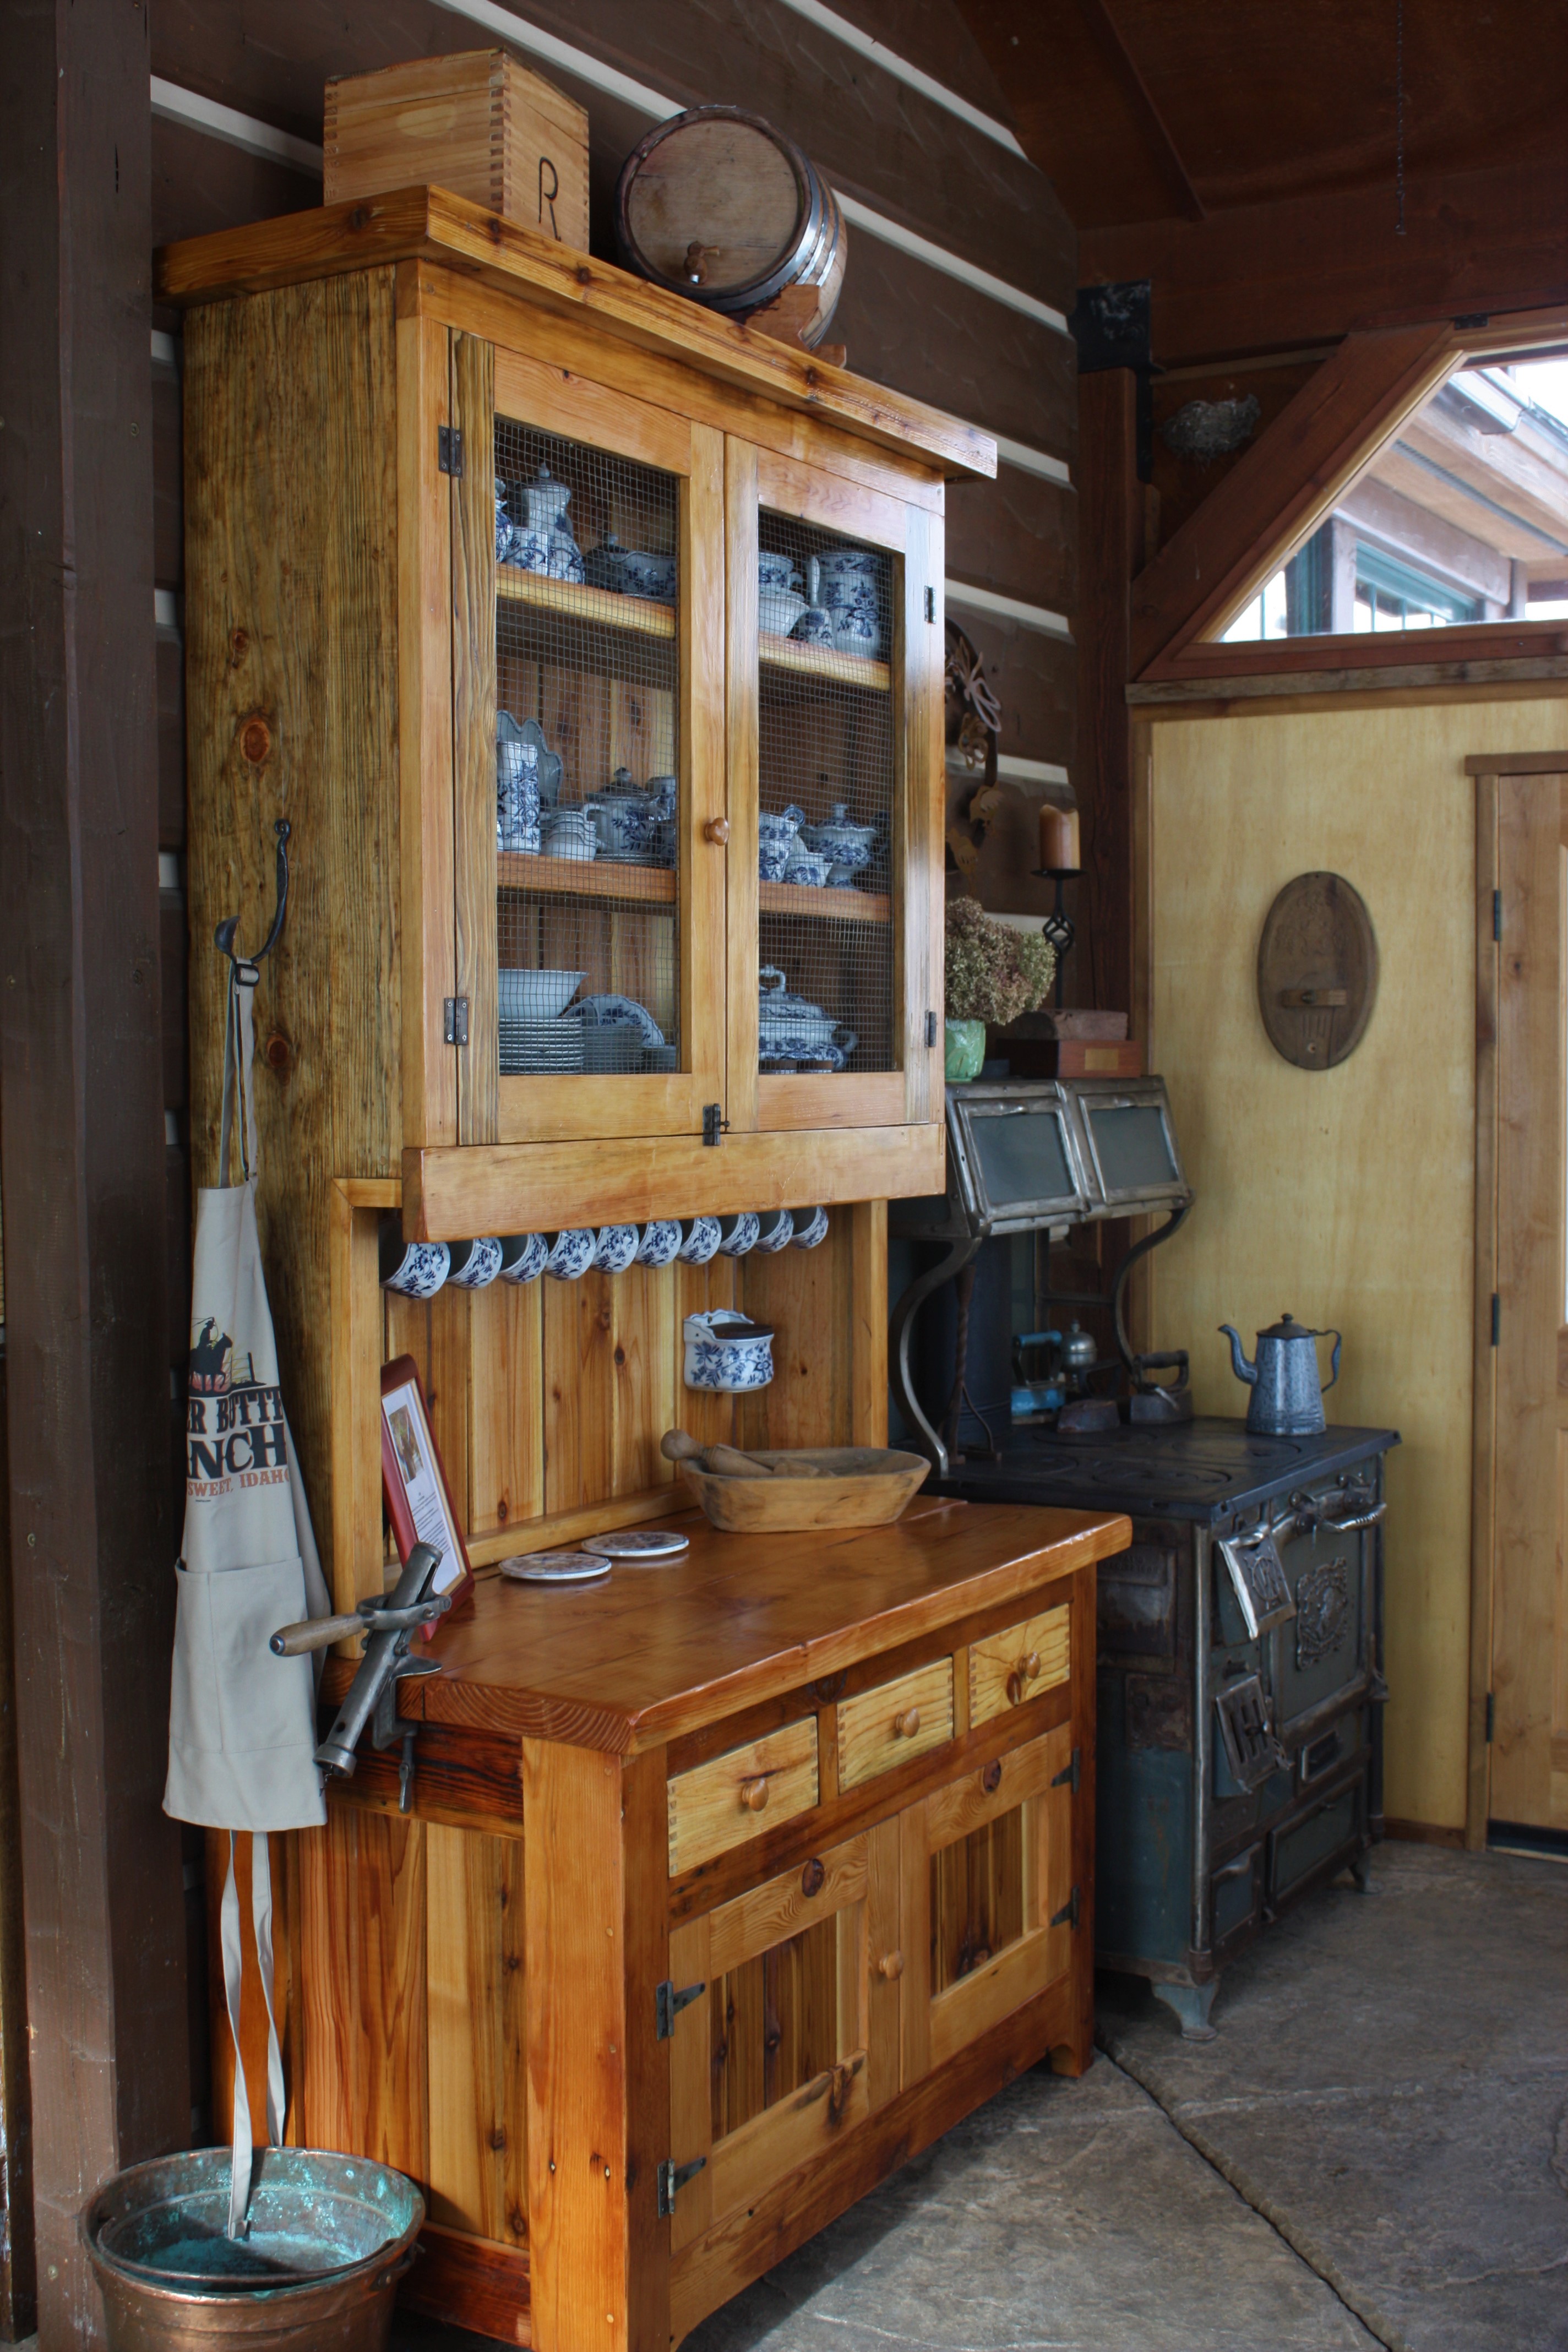
Building a butcher shop in the back room of our barn has taken most of my free time this winter and I still have quite a bit to do before its completion. In a previous blog I mentioned a few unique things I incorporated into the plumbing system, but neglected to mention that I was working on a butcher-block counter top at the same time. I finished the main counter a few days ago and was really satisfied with the way it came out. I was especially happy with the fact that when it was all said and done it cost less than fifty dollars in materials to complete.
For about eight years I have been packing around several bundles of used maple hardwood flooring that I had scrounged from an old high school gymnasium floor. I originally procured this used flooring when we built our mountain cabin and had re-bundled and stored the leftover scraps thinking I might one day have use of them. It’s good stewardship to incorporate recycled, resold and reused building materials when you can, and it saves money besides. I’ll admit that there has been a time or two I’ve been tempted to cut them up for fire wood just to get them out of my hair, but in the back of my mind I always felt they were too valuable for such a fate even though much of it was warped and unusable for their conventional intent. When I envisioned building our butchering room I knew I had finally found a home for them. Here is what I did:
First I estimated how much would be needed for the square footage of the countertops we would need. Gathering up what I thought would satisfy the need I cut the tongs and grooves off of both sides of each individual piece.
Second, using Gorilla Glue I generously coated back and front of each length, setting them on side for lamination. I did this until I had enough in place to make more than the two foot counter width I desired. I made them wider than they needed to be with the intent of trimming them to their needed dimension later.
Third, with the help of my granddaughter Hope, we squeezed them tightly together with furniture clamps leaving them to dry for several days. You might notice in the picture how we clamped the two pieces that would eventually be fit together as forty-five degree corners. After these were dry I cut them to fit.
Using a belt sander with heavy grit paper I sanded the pieces, (first across the grain and then with the grain) until all the high ridges were taken down making the counter top pieces flat and even. This took a little time and patience. The final sanding would be done after the laminated pieces were set into their final place with fine grit paper.
Next, using tubes ofLiquid Nail I thickly coated the bottoms of each piece and fit them together on top of the reinforced cabinet I had prepared for them. It gave great satisfaction to see the corners slide together and fit. (I think I’ve mentioned along the way that I’m not a perfectionist and when things actually work out the way I envision them it always surprises me a little.)
Finally, I did the finish sanding and calked the sink and backsplash board to avoid later leakage. I coated the maple wood top with mineral oil which sealed it and gave it a beautiful final appearance. (Using mineral oil on a food preparation surface was recommended to me by my friend Rand Thompson who does professional counter top work.)


Leave A Comment
You must be logged in to post a comment.